Making Convincing Seamless Textures from Photographs
Part 4. Example Texture
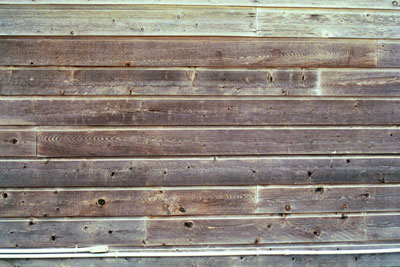
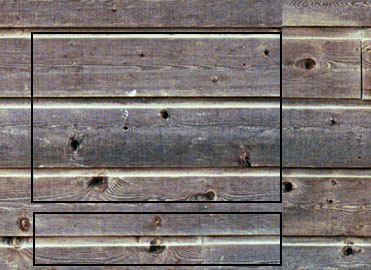
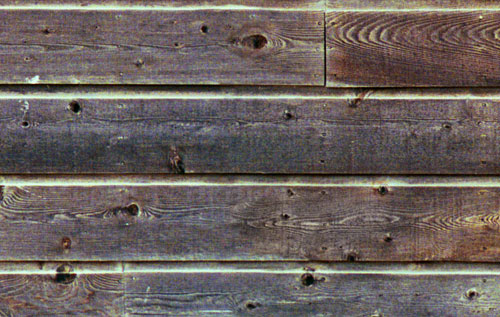
When looking at a picture you are about to convert to a texture, one should consider what the image will be used for in order to develop a strategy. Take a look at the image below. There are several things to consider.
Some of these items may help or hinder the texture depending on the intended use. The perspective is obviously a problem so we will use edit->transform->distort to remove the perspective. But before we do that, we should determine how much of the image we want to keep. If we don't plan on tileing, we should keep as much of the image as we can. Chances are, we will want to clip off the electrical line anyway. And the top plank? If you are not going to tile, this plank adds realism to the often too-perfect world of computer graphics and should be kept. But what if you are going to tile? This plank now becomes a bulls-eye mark for the brain to see a repeating pattern in what should be random planks. However, there are enough planks here that you may not need to repeat the entire tile to cover the object surface (say the wall or deck is relatively small). If this were the case, you could keep the plank for the detail it brings to your image and adjust the position of the texture so that this plank does not appear twice on the surface. If you do want multiple tileing and crop off this plank, you are still not home free. The bottom two planks have a distinctive set of knots that could be just as eye-catching as the odd-colored plank. If we crop off all three, you are left with a small number of planks which will require more tileing and may, again, look artificial at the final rendering. So, let's keep all of them and deal with it later. We correct for perspective and crop.
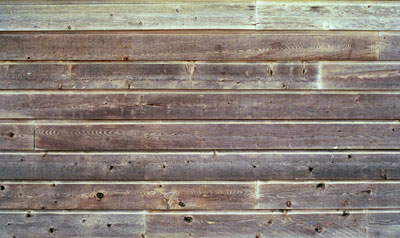
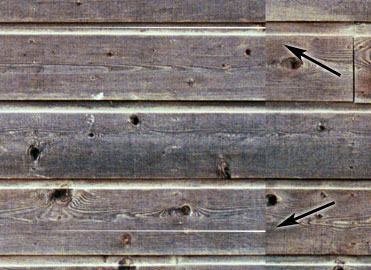
In attempting to correct for perspective, make sure all of the lines match up the best they can. I found it easier to correct the top portion, crop the image (cropping between the planks being careful to grab all of the "between plank" area at the top and none of it at the bottom-left corner. I then corrected the perspective at the bottom by pulling the bottom-right corner of the image down so that the edge of the plank just touched the edge of the image. Now, Filter->other->offset in both x and y.
This looks pretty good. However, some of the planks don't line up exactly.
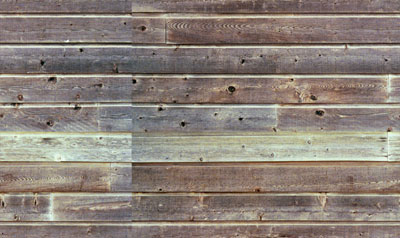
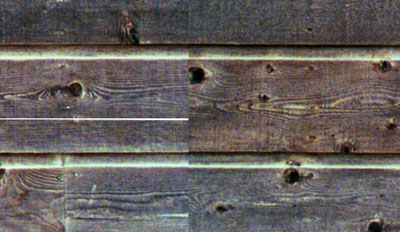
We can fix this using Edit->distort to make some fine adjustments. We make two selections and distort one side to make the plank lines meet. This does leave artifacts that will have to be removed.
Before we turn to the clone tool, a couple of the planks butt together with a noticeable color change.
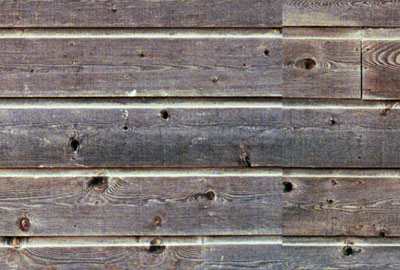
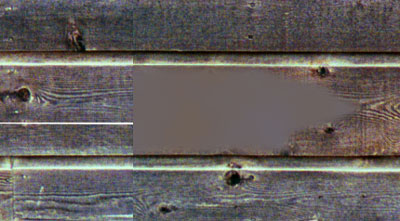
There are a few ways to address this but one quick way to blend the color without loosing the detail is as follows. Using the eyedropper (set to 5x5 average), select two representative colors on one side of the seam. Select a square marquee covering a portion of the plank on the other side of the seam. Create a new layer and use Filters->Render->Clouds and fill the selection. Use the eraser to smooth out the edges and the transition (don't touch the seem). You now have something like the image below.
Change the layer blanding from "normal" to "color", make the transparency about 50% and merge down. Now, with a few swipes of the clone tool we have a seamless texture. Don't forget to clone in terminations for those planks that don't have any.
![]()
Copyright © 2004 Bit Brush Graphics, 1501 Resaca Blvd., Austin, TX 78738
(512) 587-4700